Your Real Estate Experts of Las Terrenas, Samana
Find Properties for Sale in Las Terrenas, Samana.
Villas, Homes, Apartments & Business for Sale.
(Contact us if you wish to publish your property with us.)

Find Properties for Sale in Las Terrenas, Samana.
Villas, Homes, Apartments & Business for Sale.
(Contact us if you wish to publish your property with us.)


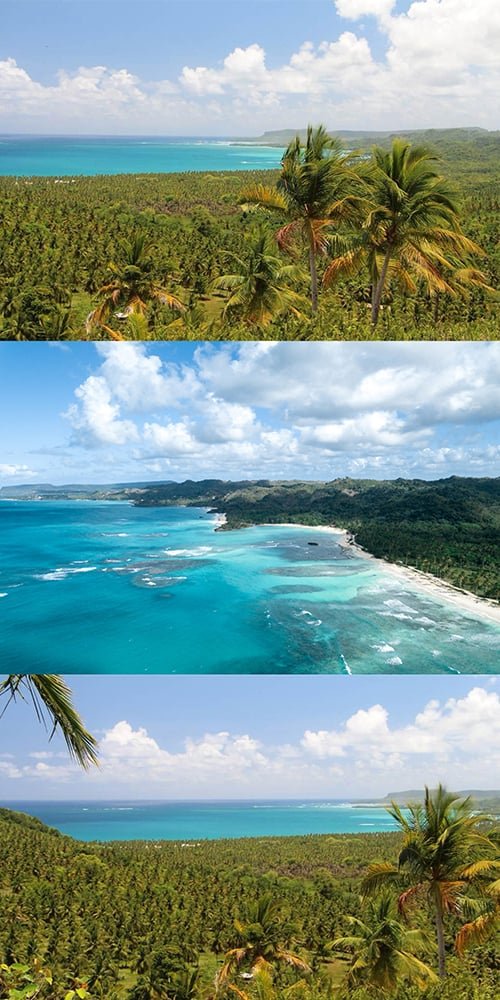
Oceanview Land for Sale overlooking PLAYA RINCON Samana
Highlights of Property:
Rincon Hills Land for Sale 100,000 square meters.
Overlooking the World famous Playa Rincon.
Perfect development opportunity… All services: Water, Electricity, Internet connectivity etc. High building density.
Legal Property TITLE in hand.
60% road access. 6 minutes drive to Rincon beach.